How to Take Photos of a Car for Sale With Your Phone
Lighting, framing and a 16-photo checklist for your listing, with CarTake examples and a dealership workflow demo.
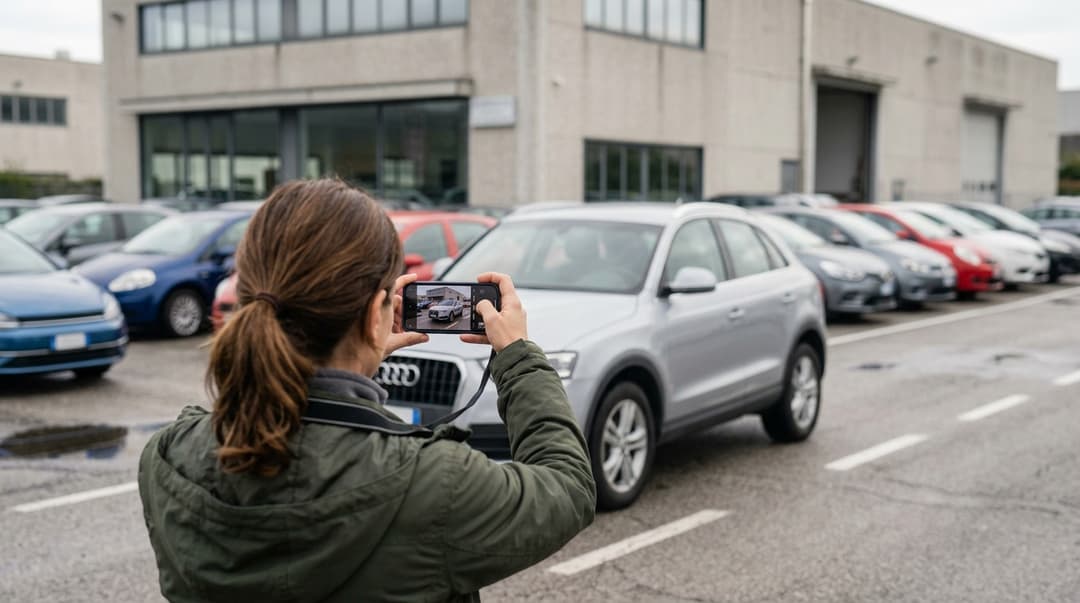
Take clearer car listing photos: preparation, light, a 16-shot checklist, interiors and backgrounds, with CarTake video and examples.
To take good photos of a car for an online listing, choose even light, clean the vehicle and start with your phone’s main camera. Keep the whole car in frame, cover the exterior, cabin and details, and show any damage. A useful gallery lets a buyer understand what is on offer before contacting you.
This guide is for private sellers and dealership teams photographing inventory. Follow the shot list on location, explore examples from CarTake’s existing media and see how the product prepares vehicle images for listings.
1. Prepare the car and your shooting location
Wash and dry the bodywork, clean the windows and wheels, and remove personal belongings from the cabin. Dust on the dashboard and a full trunk distract from the vehicle itself. Wipe the phone lens as well: a fingerprint can make highlights look hazy.
Park where you can walk around the vehicle without blocking traffic. Leave space between the car and the background. Check that poles, people or other vehicles do not overlap its outline. Keep the keys handy so you can open the doors and trunk.
2. Choose light that reveals the bodywork
A bright, overcast day is a useful starting point. In strong sunshine, look for open, even shade; avoid leaving half the car in sunlight and half in darkness. Check the bodywork on screen and move if a bright reflection hides a panel or obscures the windows.
Retake a shot if you cannot make out the color or surface detail. Increasing exposure should not turn gray paint white, and a vivid filter should not change its shade. Aim to make the car’s condition easy to assess.
3. Set up your phone and keep proportions natural
- Start with the main 1× camera. Step back before switching to an ultra-wide lens, which can distort the car at close range.
- Take exterior photos horizontally, with room around the bumpers, roof and wheels. Check the listing platform’s crop before uploading.
- Keep the phone level and use a consistent height for exterior views, roughly around the window line. Turn on the grid to check the horizon.
- Tap the vehicle on screen to focus, hold the phone with both hands and enlarge the result to check sharpness.
- Avoid portrait mode, beauty filters and digital zoom. Edges and small marks should remain visible.
4. Your listing shot list: 16 photos to start with
This is a suggested CarTake sequence, not a platform requirement. Start with 16 distinct images, then add damage and noteworthy equipment. The upload allowance depends on the marketplace and your account.
- 1–4. All four three-quarter views: front left, front right, rear left and rear right. Each shows two sides of the vehicle.
- 5–8. Front, rear and both side profiles. Keep the entire car visible and the views consistent.
- 9–10. Dashboard with steering wheel, and front seats. Show the controls and upholstery condition.
- 11–13. Rear seats, open trunk and instrument panel with a readable odometer, with the vehicle stationary.
- 14–16. A wheel and tire, a headlight and a standout feature such as infotainment or a sunroof.
- Additional photos. Show each significant area of damage in context and close up. Include other wheels or features when their condition differs.
5. Cabin and details: answer a buyer’s questions
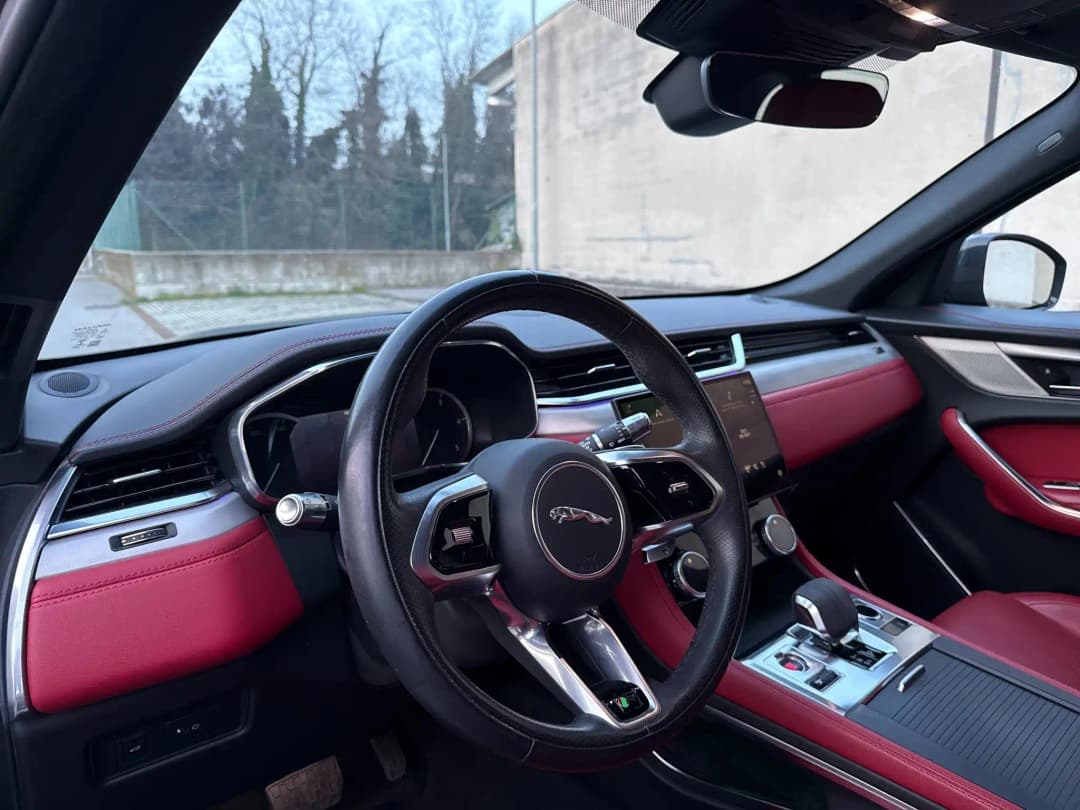
Open a door and find an angle where daylight reaches the cabin without washing out the dashboard. Photograph the dashboard, seats and trunk separately: one wide shot cannot explain everything. For displays, avoid glare and hide personal contacts, saved addresses or other private information.
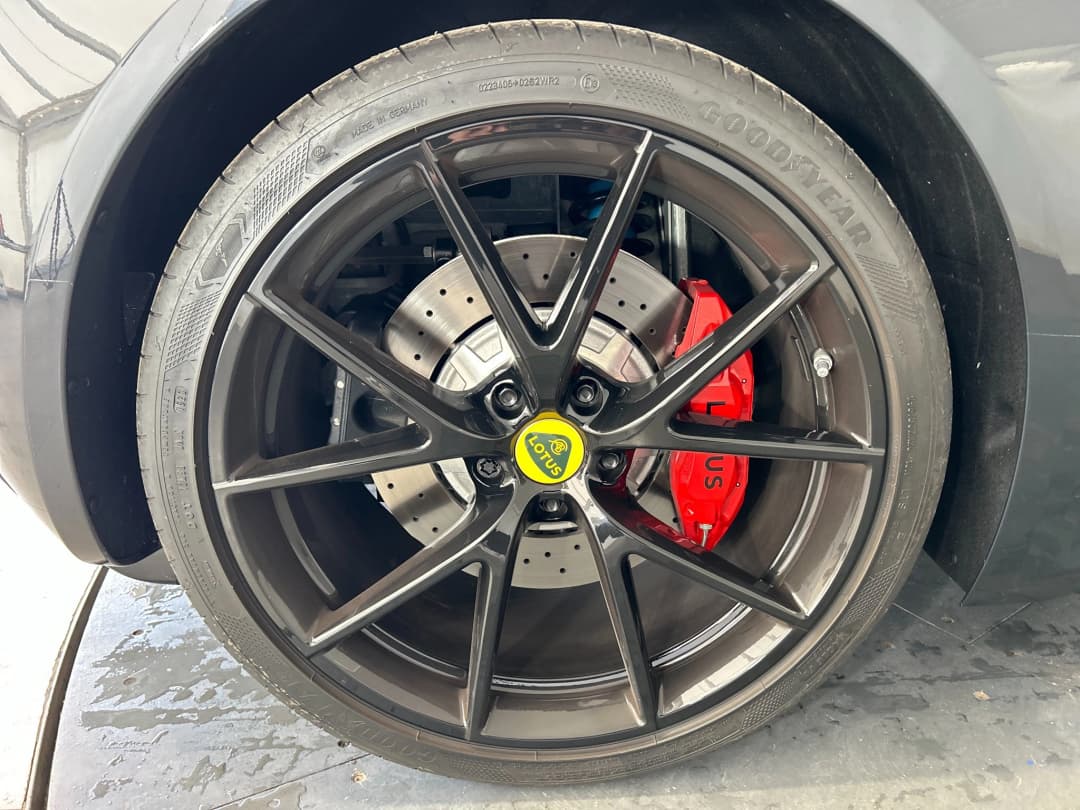
Move closer to details while keeping them in focus. A clear wheel photo helps show its finish and any marks; tire wear also needs a view of the tread. If a scratch disappears in the light, change the angle so it is visible.
6. Watch the CarTake workflow
When several people photograph inventory, a shared sequence helps keep the results consistent. This product demonstration is the same video used on the CarTake product page.
CarTake Photo, the guided capture app provides framing guidance and checks blur and exposure. Operators can correct a shot while they are still standing beside the vehicle.
7. A cleaner background: before and after CarTake
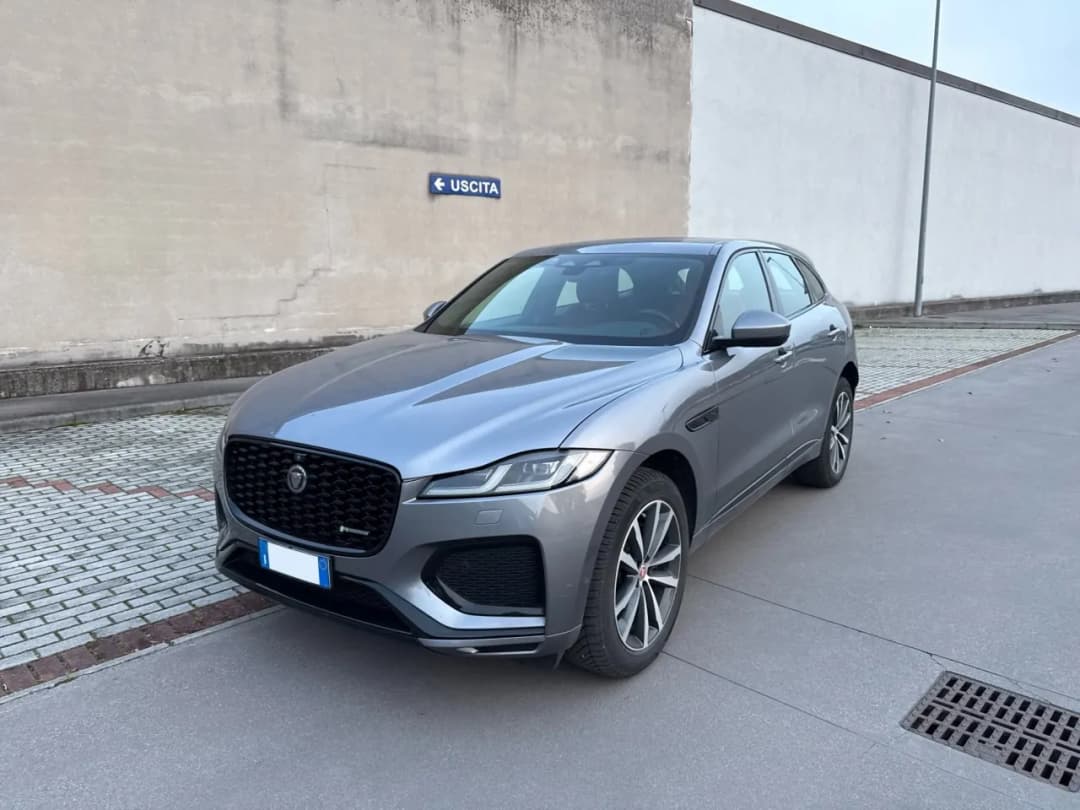
In the earlier Jaguar photo, the wall and lot belong to the original scene. Below is the processed result in a Digital Room. Check the vehicle outline, glass and tire contact with the floor when assessing the result.

Background removal separates the car from its surroundings; the CarTake Digital Room provides its new setting. Review the result before publishing and keep the originals. Scratches, dents, color and equipment must remain accurately represented.
8. Choose the cover photo, gallery order and upload files
For the listing cover, start with a sharp front three-quarter view showing the entire vehicle. Check that it works as a small thumbnail on a phone. Follow with the remaining exterior views, cabin, equipment and damage. Remove near duplicates: each image should add useful information.
Upload original files or high-quality exports. Avoid screenshots and images repeatedly compressed by messaging apps. Check the destination marketplace’s current file size, aspect ratio and rules on logos and backgrounds. Review the published listing on mobile as well as desktop.
9. Apply the same method across dealership inventory
If you photograph cars every week, assign responsibility for capture, image review and checking the live listing. Give every operator the same shot list and verify that each set belongs to the correct vehicle. This turns individual photography into a repeatable process.
CarTake connects guided capture, processing and delivery to integrated inventory publishing tools. Check the available integrations against your workflow. For social content and campaigns made from inventory photos, explore CarTake Studio.
If delays happen after the shoot, read our analysis of the time between photos and publication in the Italian used-car market. A demo can explore how images move from your team’s phones to your dealership’s publishing channels.
FAQ
Car listing photography questions
Does your dealership photograph cars every week?
Explore your workflow in a demo: guided capture, Digital Room and delivery to integrated publishing tools. See how to use the same method across your inventory.